Optimizing human-robot collaboration and communication in a multi-robot system
UI Design
Zero-to-one
Design Thinking
User Engagement
Design Iteration
Prototype
Multi-Robot Collaboration
Autonomous Driving
Data Visualization
Overview
Role
UX Designer
UI Designer
UX Researcher
Duration
1 month
Team
2 UX/UI Designer
1 CTO/Program Lead
6 Software Engineers
3 Machine Learning
5 Hardware Engineers
3 Test Engineer
Introduction
Enhanced trust and safety in operations by improving UI components to ensure reliable fraud detection and accurate processes in a multi-robot control system.
Project Goals
Informative without distractions
Engaging users in a multi-robot control system related with robot planning, and monitoring process. Reduced errors and increased productivity by creating effective icons and UI components for future designs.
Outcomes Highlight
  1. Dynamic UI Library. Redesigned UI components for multi-robot control system and built up a dynamic UI Library for diverse customer needs.
  2. Increased productivity and reduced errors.
  3. Driven influence. Hosted a workshop to define insights, pain points, and user flows. Aligned the agreements about product priorities within the team.
Define Problem
1. Understood Stakeholder’s insights and needs
Hosted a hybrid workshop with a cross-functional team to kick off the project, clarify user workflows, and prioritize product features.
2. Summarized the main insights
  1. Enable users to quickly identify robot types through intuitive icons in a multi-robot collaboration.
  2. Ensure users can easily and swiftly access targeted robot information.
  3. Design scalable UI components to accommodate dynamic business requirements.
  4. Ensure control gauges accurately reflect the level of human intervention.
Insight 1
Enable users to swiftly identify robot types through clear and intuitive icons in a multi-robot collaboration.
1. Created low-fidelity wireframes to clear the design requirements.
Analyzed the key points and the transcripts to define the general user workflow. Then, I created a low-fidelity wireframe to clarify design requirements with the team and gathered the feedback on the design concepts.
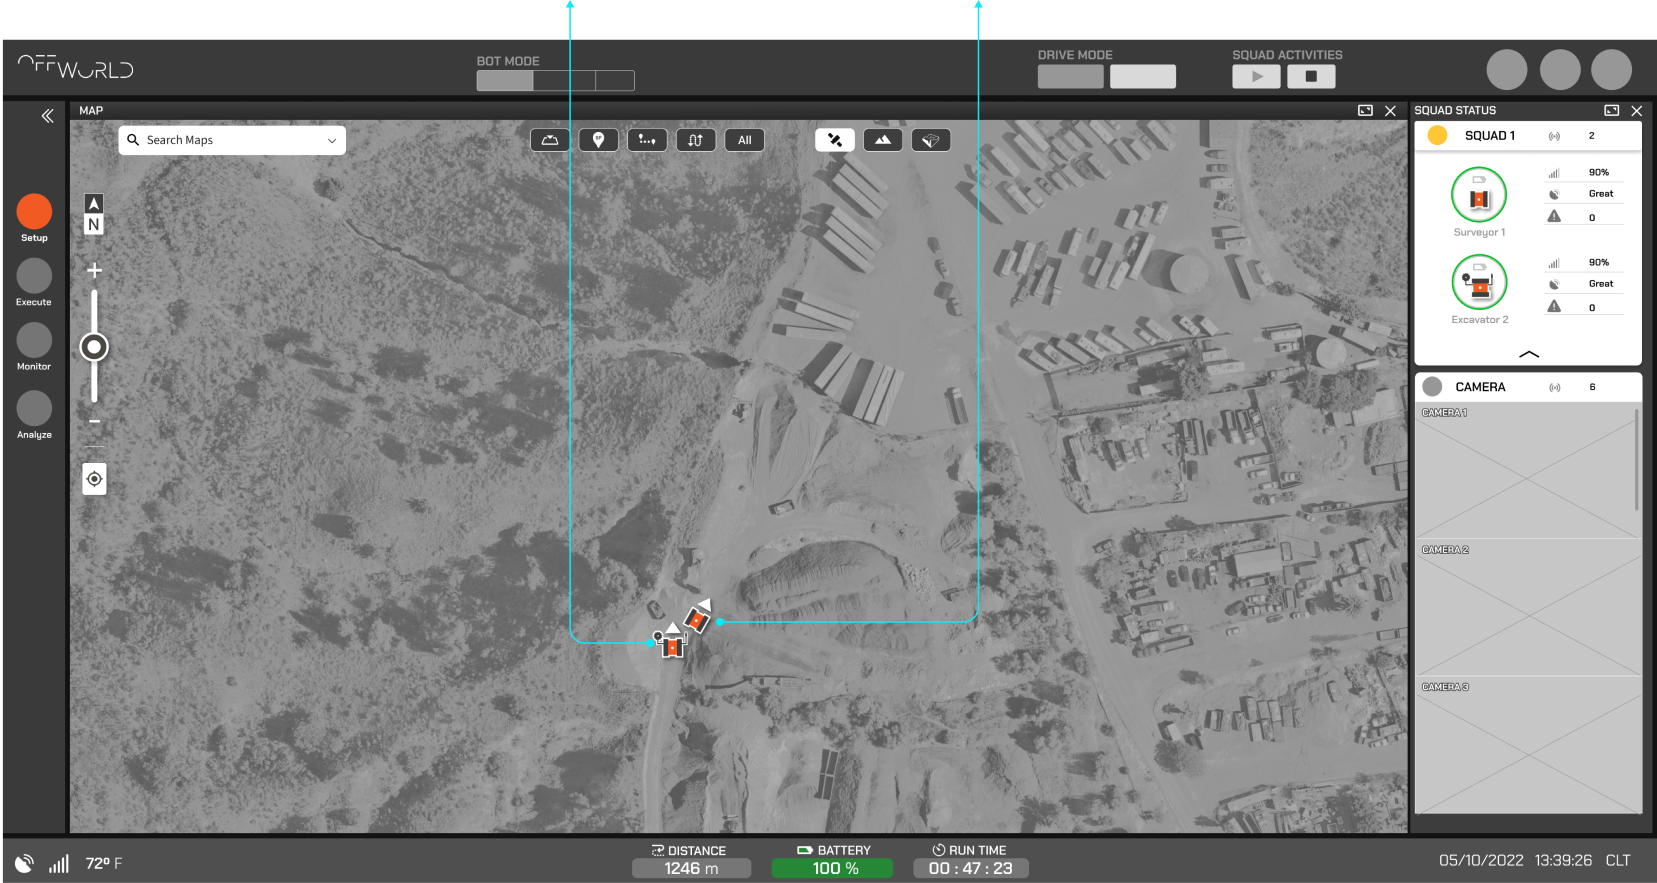
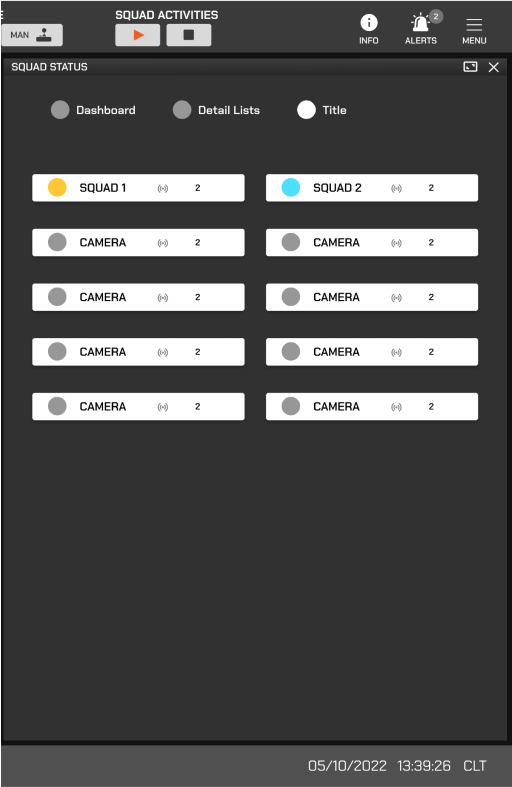
A low-fidelity prototype showcases the robot group status design and robots Icons design at a setup view.
Excavator icon
Excavator icon
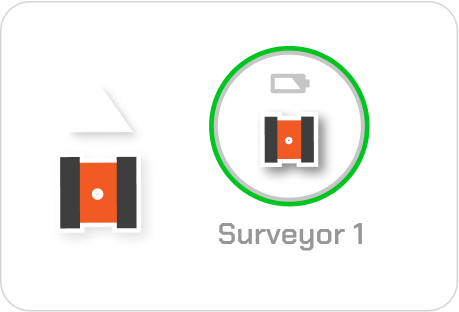
A low-fidelity prototype showcases the robot group status design and robots Icons design at a setup view.
1
Excavator icon
2
Excavator icon
3
Excavator icon
2. Analyzed feedback
3. Defined the design strategies
4. Confirmed the color palette
Selected colors to differentiate robot types, ensuring they meet the following criteria:
  • Eye-catching to ensure visibility
  • Distinct from the brand colors and alert system colors.
5. Redefined the robot icon design
Iteration 1
Redesigned the robot icons using the chosen colors and incorporating robot numbers. The design adhered to these guidelines:
  1. Easy recognition of robot types.
  2. Clear display of robot numbers.
  3. Readable orientation for all angels.
Concept 1 with numbers
Concept 2 with the abbreviation of the names
8-way icon design
Feedback
  1. Numbers like 6 and 9 were difficult to read at certain angles.
  2. The icons obscured too much background information.
  3. Kept labels horizontal for better readability.
Iteration 2
Surveyor final icon variations design
Surveyor
Unselected
  • Label always present horizontal
  • Easy to display the arrow
Selected
Unselected
  Selected
Insight 2
Users need to quickly and easily access robot information.
Provided two design options to present robot KPIs:
1. Option 1 highlighted the robot color code as a selection button.
2. Option 2 simplified the display to show only the KPI parameters.
Option 1
Option 2
Insight 3
Ensure the UI components are scalable to accommodate dynamic business requirements.
Challenges
Existing design
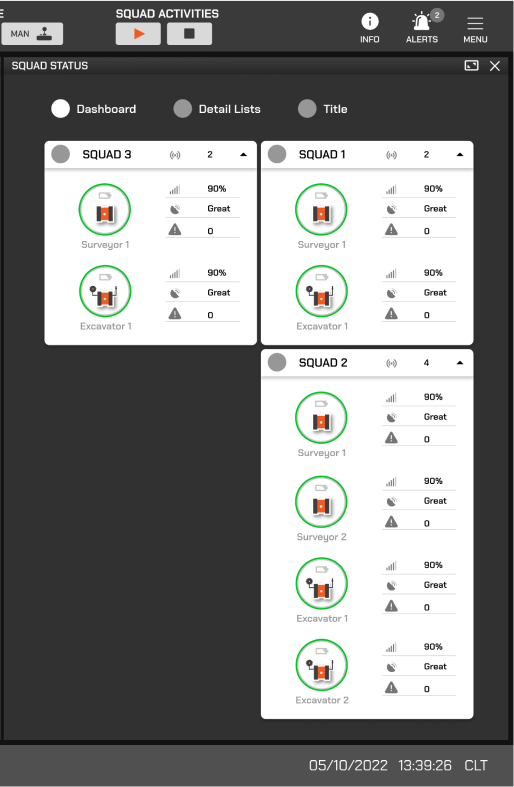
The current MVP supports a single group with two robots, each displaying six core KPIs.
Group 1
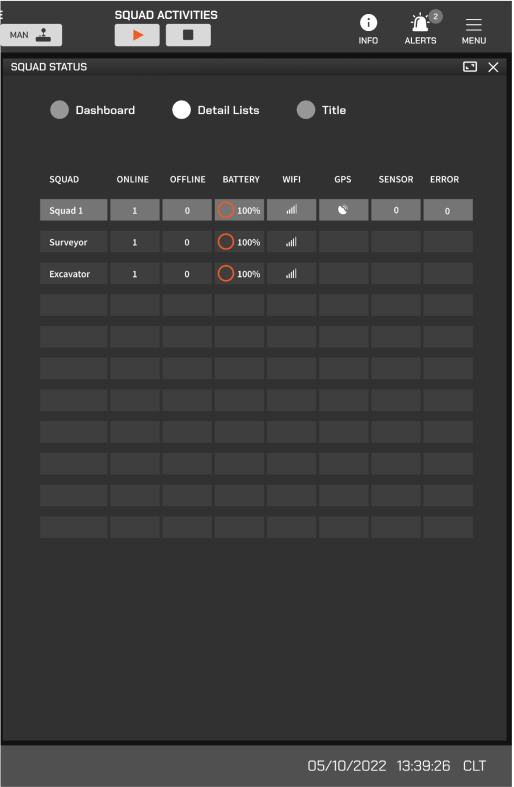
Business requirements indicate that the robots must be customizable to meet diverse client needs. Therefore, the status card should be scalable to handle a large amount of data, including more KPIs, robots, and collaborative groups.
1
Multi-KPI under one robot
Group 1
Group 2
2
Multi-robot under one group
Group 1
Group 2
3
Multi-group with multi-robot
Group 1
Group 2
Group 3
Group 4
Group 5
Insight 4
Ensure the control gauges accurately reflect human intervention.
1. Designed the manual driving panel based on the existing tablet component designs
Adapted the manual driving panel for a web application system, simplifying the original tablet touch screen components for better usability
Before
Manual Driving Components
Touch screen mockup
After
Driving Panel_Iteration 1
Desktop screen display
2. Redesigned the robot arm control panels
However, it’s much harder to control a robot arm manually. I used the same design elements from manual driving panel to create the first design version for robot arm control.
Challenges
  • There are two robot arms, Saw/Chisel, for the Excavator.
  • Saw/Chisel are all controlled by robot arms with 7 / 6 joints.
  • Saw/Chisel should be moved in three-dimension.
  • The design needed to be consistent with the other components in the design system.
Solution
Developed the robot arms control panels using existing components like position, orientation, and move joints panels.
Before
After
3. Conducted an usability testing
Conducted a usability test to identify pain points, involving 13 participants. The Excavator control experience received a score of 3.9 out of 5. Analyzed transcripts to summarize the top three findings.
Iteration 1
Usability Testing Analysis
Top 3 findings
Too Busy
Too many buttons required switching back and forth.
One Design for all
A single design was used for various robot arms, but the Saw arm with 7 joints needed different labels.
Confusing labels
Orientation labels like "Up" and "Down" were unclear; "Forward" and "Backward" would be more intuitive.
4. Live demo and learning.
Observed a live demo where engineers controlled the Saw/Chisel robotic arms to better understand the control dynamics.
5. Design imporvement strategies.
Based on testing and demo insights, defined strategies to address the pain points.
Simplify Interface
Reduce visual clutter to focus attention.
Enhance Readability
Emphasize key parameter changes for easy monitoring.
Clarify labels
Use clear and simple names for controls to ensure precision.
Final Design
Before
Manual Driving
Robot Arm
After
Manual Driving
Saw Arm
Chisel Arm
Drive/Turn control panel prototype
Summary
Upgraded UI Library for Scalability
Enhanced the UI library to meet diverse client requirements, increasing prototyping speed by 50%.

50%

Faster

Shaped early product strategy
Led a workshop with cross-functional teams, influencing product strategy, and defining user journeys and insights in the early development stages.

0-1

Product development

Elevated Robotic UI System
Simplified the complex robot arm control UI and optimized workflows using machine learning algorithm.

ML

Powered